Double-Sided Zinc Alloy Meat Tenderizer for Even Cooking
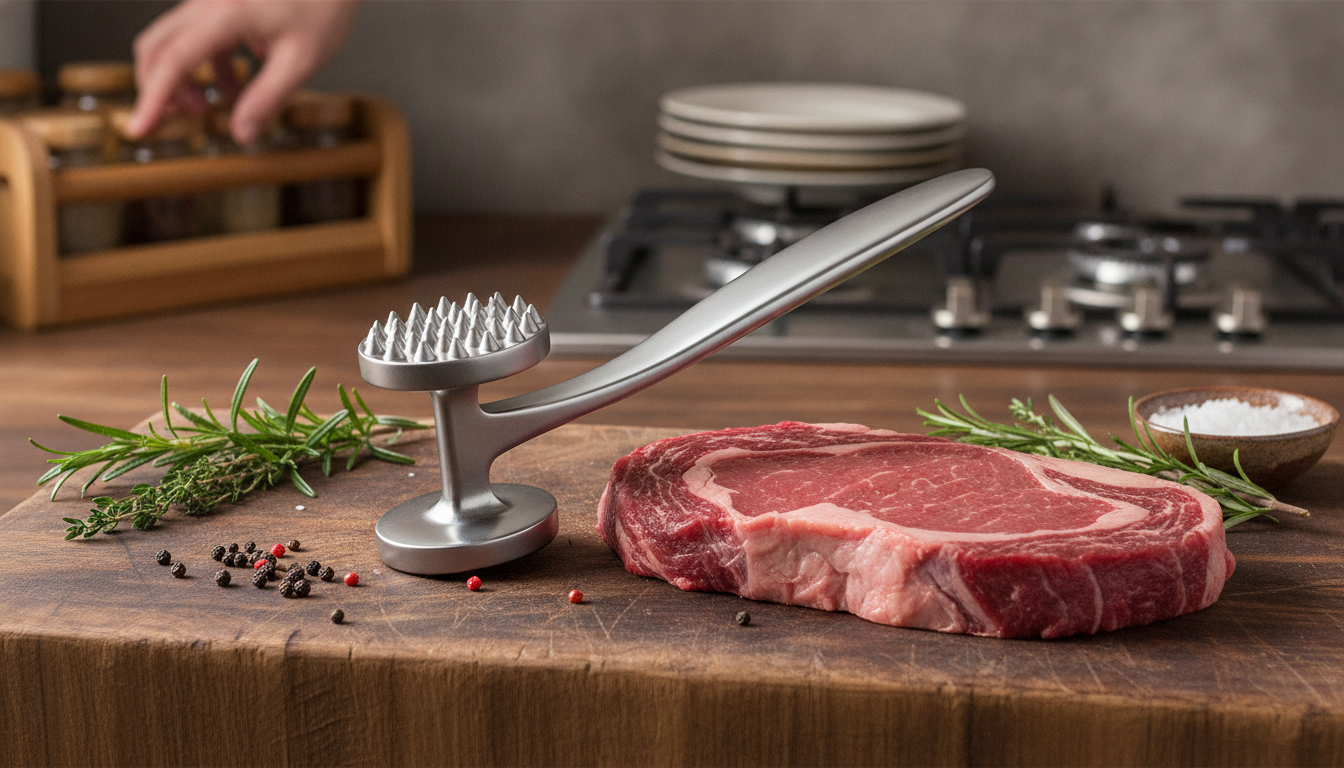
Double-Sided Zinc Alloy Meat Tenderizer Hammer for Faster, More Even Cooking
A solid meat tenderizer can turn tough cuts into quick-cooking, flavorful portions without complicated prep. A double-sided zinc alloy hammer is built for steady weight, comfortable control, and two striking faces to match different meats and textures—useful for everything from thin cutlets to thicker steaks and roasts. When a cut cooks faster and more evenly, it’s easier to hit the sweet spot: browned on the outside, juicy on the inside.
What a double-sided tenderizer does (and when it helps most)
Tenderizing works by physically disrupting muscle fibers so the meat relaxes and becomes easier to chew. Done with control, it also helps portions cook at a similar rate—especially important for cutlets and chops where thin edges can overcook while the center catches up.
- Breaks down muscle fibers to improve tenderness and shorten cooking time, especially on tougher cuts.
- Creates a more uniform thickness for even searing and reduced overcooking at the edges.
- Helps marinades and seasonings adhere by lightly increasing surface texture (without turning meat into mush when used correctly).
- Ideal uses: chicken cutlets, pork chops, schnitzel, flank/skirt steak for quick sear, and prepping meat for stir-fries.
Why zinc alloy and a heavy-duty build matter
A tenderizer’s “feel” matters more than it seems. A head with real weight transfers force efficiently, so you can use lighter taps and still get results—often with fewer strikes. That can mean less mess, less splatter, and fewer ragged edges from over-pounding.
- Heavier tools transfer force efficiently, reducing the number of strikes needed for the same result.
- Zinc alloy construction supports durability for frequent kitchen use and repeated impact.
- A sturdy head minimizes wobble so strikes land where intended, improving consistency across the cut.
- Useful for portioning: flattening to consistent thickness for meal prep and quick weeknight cooking.
Two-sided striking guide (choose the face based on the job)
| Tenderizer side | Best for | Result | Quick tip |
|---|---|---|---|
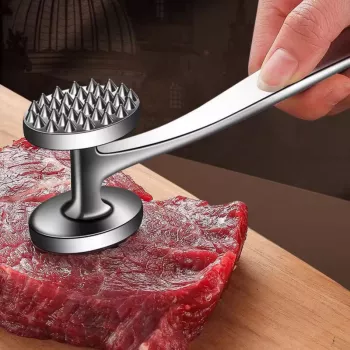
| Textured / toothed side | Tougher cuts, thicker steaks, pork shoulder slices | More fiber disruption; faster tenderness | Use light-to-medium strikes in a crosshatch pattern; avoid pounding into paste |
| Flat side | Cutlets, chicken breasts, pork chops, fish with care | Even thickness; gentler flattening | Start from the center and work outward to prevent tearing |
How to tenderize without damaging the meat
The goal is control and consistency, not force. Think “even taps” rather than “big swings.” A heavy-duty hammer helps because you can let the tool’s weight do the work while you stay precise.
- Pat meat dry and place between parchment, plastic wrap, or inside a zip-top bag to reduce splatter and protect the surface.
- Use controlled, even taps rather than hard swings; let the tool’s weight do the work.
- For thickness: flatten gradually, rotating the meat to keep edges intact.
- For tenderness: use the textured side sparingly on already-tender cuts; focus on tougher sections and connective tissue zones.
- Stop when the meat is evenly thick and slightly relaxed—over-tenderizing can make texture mealy.
If you’re flattening chicken breasts, aim for a uniform thickness that matches your cooking method: thinner for quick pan sears, slightly thicker for baking so it stays juicy. For beef stir-fry, quick, light texturing helps shorten the chew without turning slices into shreds.
Best cuts and quick meal ideas
A tenderizer shines when you want weeknight speed without sacrificing texture. It’s also a simple way to standardize portions so everything on the pan finishes at about the same time.
- Chicken: even cutlets for pan-searing, parmesan-style bakes, or sandwich fillets.
- Pork: thinner chops for quick browning; schnitzel-style portions that stay tender.
- Beef: flank/skirt portions for fajitas; round steak slices for faster braising or pan cooking.
- Meal-prep advantage: portion and flatten multiple servings to cook uniformly across the week.
Quick idea: pound chicken to an even cutlet, season with salt, pepper, and paprika, then sear 3–4 minutes per side (depending on thickness) and finish with a squeeze of lemon. For pork schnitzel-style portions, use the flat side to even thickness, then bread and pan-fry until golden and cooked through.
Cleaning, storage, and food-safety habits
Because tenderizing can create splatter, a clean workflow matters. Keep your prep area organized, and treat the tenderizer like any tool that touches raw protein: wash promptly and sanitize nearby surfaces.
For additional guidance on safe kitchen habits, see USDA FSIS on cleanliness and preventing foodborne illness, and USDA FSIS on recommended cooking temperatures.
When a tenderizer is the right tool (and when to use another method)
Product details and where it fits in a kitchen setup
Shop in-stock picks
- Double-Sided Zinc Alloy Meat Tenderizer Hammer – Heavy Duty Kitchen Tool ($43.51)
- 7-Piece All-Weather Wicker Patio Furniture Set with Cushions & Pillows ($757.49)
- Floating TV Stand with 36″ Electric Fireplace and High Gloss Finish ($509.17)
FAQ
Which side should be used for chicken breast cutlets?
Start with the flat side to even out thickness without tearing the surface. If a breast has a noticeably tougher or thicker section, use the textured side lightly in that area, then finish flattening with the flat face.
How many strikes are enough to tenderize meat?
Use controlled, even taps and stop once the meat relaxes and becomes uniformly thick—typically a few passes across the surface, not heavy pounding. The goal is consistent thickness and a slight softening, not a shredded texture.
How should the tenderizer be cleaned after use?
Wash promptly in warm, soapy water and scrub the textured face to remove any trapped proteins, then rinse and dry thoroughly. Sanitize your cutting board and nearby surfaces after tenderizing to reduce cross-contamination.














Leave a comment