Aluminum Multicolor Crankset Cover Screws: Fit & Install
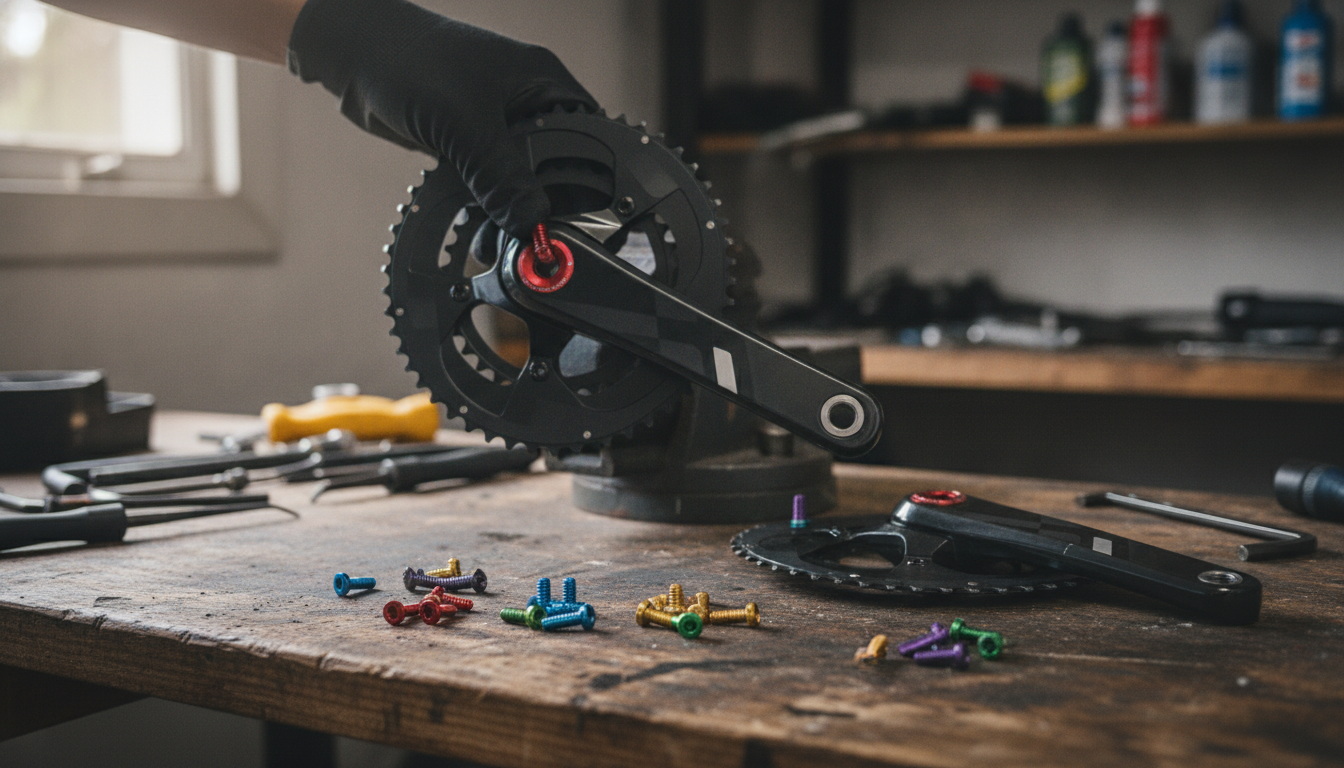
Aluminum Multicolor Crankset Cover Screws: Small Part, Big Payoff
Crankset cover screws are easy to overlook until you’re cleaning your bike after a wet ride or chasing down an annoying creak. These small caps help protect the crank arm end and spindle interface from grit, moisture, and trail debris, while also giving the bike a clean, finished look. Aluminum multicolor cover screws add a lightweight, eye-catching upgrade thanks to anodized finishes—but the details matter. Correct fit, thread type, and a careful install are what keep the upgrade from turning into stripped threads or a cap that backs out mid-ride. For more guidance, see RIDERACE™ – Premium Bike Parts & Gear.
What crankset cover screws do (and what they don’t)
Cover screws are protective and cosmetic parts first and foremost. They help keep the crank interface cleaner and can make routine inspections easier—especially when bright colors highlight missing hardware. For further reading, see Industry Nine.
- Seal and protect crank arm end-cap areas from dust, water, and trail debris.
- Help keep grease and contaminants where they belong around the spindle interface.
- Improve aesthetics with coordinated color accents that match bolts, valve caps, or headset spacers.
- Do not replace proper crank preload adjustment or compensate for worn crank/spindle interfaces.
- Do not increase drivetrain stiffness; the benefit is protection, finish, and serviceability.
Compatibility checklist before buying
Crank systems vary more than most riders expect. Before choosing a replacement cover screw, confirm how your crank is designed to retain and protect the spindle end.
- Crank standard matters: confirm the crank model and whether it uses a screw-in cover, press-in cap, or a self-extracting bolt system.
- Thread type and size: verify the thread pitch and diameter used by the crank’s cover hardware; mismatched threads can damage the crank arm.
- Tool interface: check whether the cover screw uses hex, Torx, or a slotted interface, and ensure the tool clears the crank shape.
- Clearance: confirm it won’t rub frame, chainstay yoke, or power meter pods, especially on MTB frames with tight rear triangles.
- Material pairing: aluminum hardware in aluminum crank threads requires careful torque and lubrication/anti-seize choices to reduce galling risk.
| Check | Why it matters | What to do |
|---|---|---|
| Crank model/system | Different systems use different caps and extraction methods | Look up the exact crank model and confirm it uses removable cover screws |
| Thread size & pitch | Prevents cross-threading and stripping | Match to the original part or manufacturer spec |
| Tool type | Avoid rounding the interface | Use the correct hex/Torx size and a clean, fully seated bit |
| Chainstay/frame clearance | Prevents rubbing and noise | Test-fit by hand before final torque |
| Surface prep | Improves retention and reduces corrosion | Clean threads; apply light grease or suitable threadlocker per crank spec |
Why aluminum multicolor hardware is a popular upgrade
Aluminum cover screws are a favorite detail for riders who like a tidy build or want coordinated accents without adding weight. The anodized finish offers color variety and decent surface durability, but it still needs a smart install—especially when aluminum threads meet aluminum crank arms.
- Low weight: aluminum fasteners and caps can shave a few grams compared with some steel alternatives.
- Anodized color options: multicolor finishes make it easy to coordinate with stems, pedals, bottle cages, or accent decals.
- Corrosion resistance: anodized aluminum resists surface oxidation better than bare aluminum, though threads still need proper prep.
- Service-friendly appearance: bright colors make it easier to spot missing hardware during pre-ride checks.
- Trade-offs: aluminum threads can be easier to strip than steel if overtightened or installed dry and dirty.
Installation steps for a secure, rattle-free fit
A careful install is the difference between “set it and forget it” and constant re-tightening. If your crank manufacturer specifies a compound or torque, follow that guidance first. For general best practices on thread compounds and safe tightening, Park Tool has clear references on threadlocker use and torque basics.
Keeping color and finish looking new
Common problems and quick fixes
Shop in-stock picks
- Aluminum Multicolor Crankset Cover Screws for MTB & Road Bikes — lightweight anodized accents designed to refresh the crank end-cap look while helping keep grime out.
- Rate Right | Freelance Pricing Checklist with ai for setting freelance rates, Confident Rates, Smart Pricing Strategy — a handy add-on for independent mechanics or side-hustle builders who want a clearer way to price services and projects.
FAQ
Will these crankset cover screws fit any MTB or road crank?
Fit depends on the crank system and the exact thread size/pitch and cap style. Match the replacement to the original cover screw/cap specification for your crank model to avoid cross-threading or poor seating.
Should grease or threadlocker be used on aluminum cover screws?
Use the crank manufacturer’s guidance when available. Light grease commonly helps prevent seizing on aluminum threads, while low-strength threadlocker can help reduce loosening on rough terrain if it’s compatible with the crank’s design.
How tight should a crankset cover screw be?
Use the specified torque if provided by the crank maker. If no torque is available, tighten conservatively—snug plus a small additional turn—since small aluminum hardware can strip if overtightened.














Leave a comment