Arrange Butterfly Wall Stickers: Layout Tips & Spacing
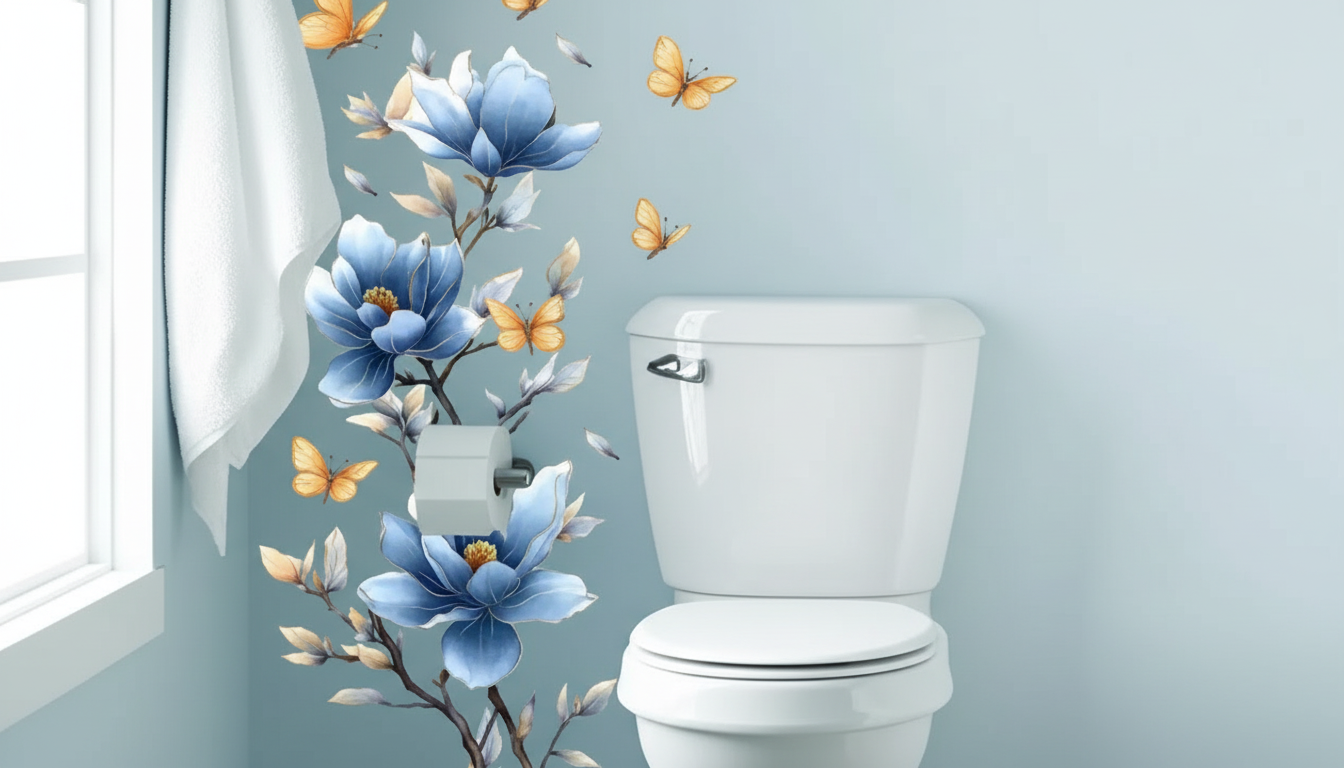
How to arrange butterfly stickers on the wall?
Arranging butterfly stickers (wall decals) looks best when it feels intentional but not overly “grid-like.” A quick plan, a simple layout, and a few spacing rules will help you create a fluttery, natural-looking display—whether you’re decorating a nursery, refreshing a bedroom, or adding movement to a blank hallway.
1) Pick the placement and “flight path”
Start by choosing where the butterflies will travel: up from a baseboard, across a headboard, around a mirror, or diagonally into a corner. Diagonal and gently curved paths tend to look more realistic than straight horizontal lines because they mimic how butterflies move.
2) Dry-fit before you stick
Lay the decals on a bed or table and test a few groupings. For extra confidence, use painter’s tape to hold each butterfly on the wall temporarily. Step back 6–10 feet to see the overall balance, then adjust before committing.
3) Use size and spacing for depth
Mix sizes to create dimension: larger butterflies as “closer” focal points and smaller ones trailing away. Keep spacing uneven on purpose—tight clusters next to a few more separated decals looks organic. As a starting point, try 2–4 inches between butterflies in clusters and 5–10 inches between “traveling” ones.
4) Aim for a focal cluster, then taper out
Create one main cluster (often 5–9 butterflies) near the center of the design. From that cluster, taper outward with fewer butterflies as the path extends. This prevents the arrangement from feeling scattered.
5) Add lift with wing bends and subtle angles
If your decals allow it, gently bend the wings outward after applying to create a 3D effect. Rotate butterflies at slightly different angles rather than keeping them all upright; the small variations make the wall feel alive.
6) Apply cleanly and protect your paint
Clean the wall first (dust-free, fully dry). Press from the center outward to avoid bubbles. If you’re applying on freshly painted walls, wait until the paint has fully cured (often about 2–4 weeks) to reduce the risk of lifting.
For a visual walkthrough and styling ideas, follow this guide: https://puriture.com/guide-blue-floral-butterfly-wall-decal-quick-room-refresh/.
FAQ
How do you remove butterfly wall stickers without damaging paint?
Warm the decal with a hair dryer for 20–30 seconds, then peel slowly from one corner at a low angle. If any residue remains, gently rub it off with your finger or a mild adhesive remover tested on an inconspicuous spot.











Leave a comment