USB-C RGB Gaming Mic: Mute Button + Zero-Latency Monitor
RGB USB‑C Gaming Microphone with Mute Button & Zero‑Latency Monitoring
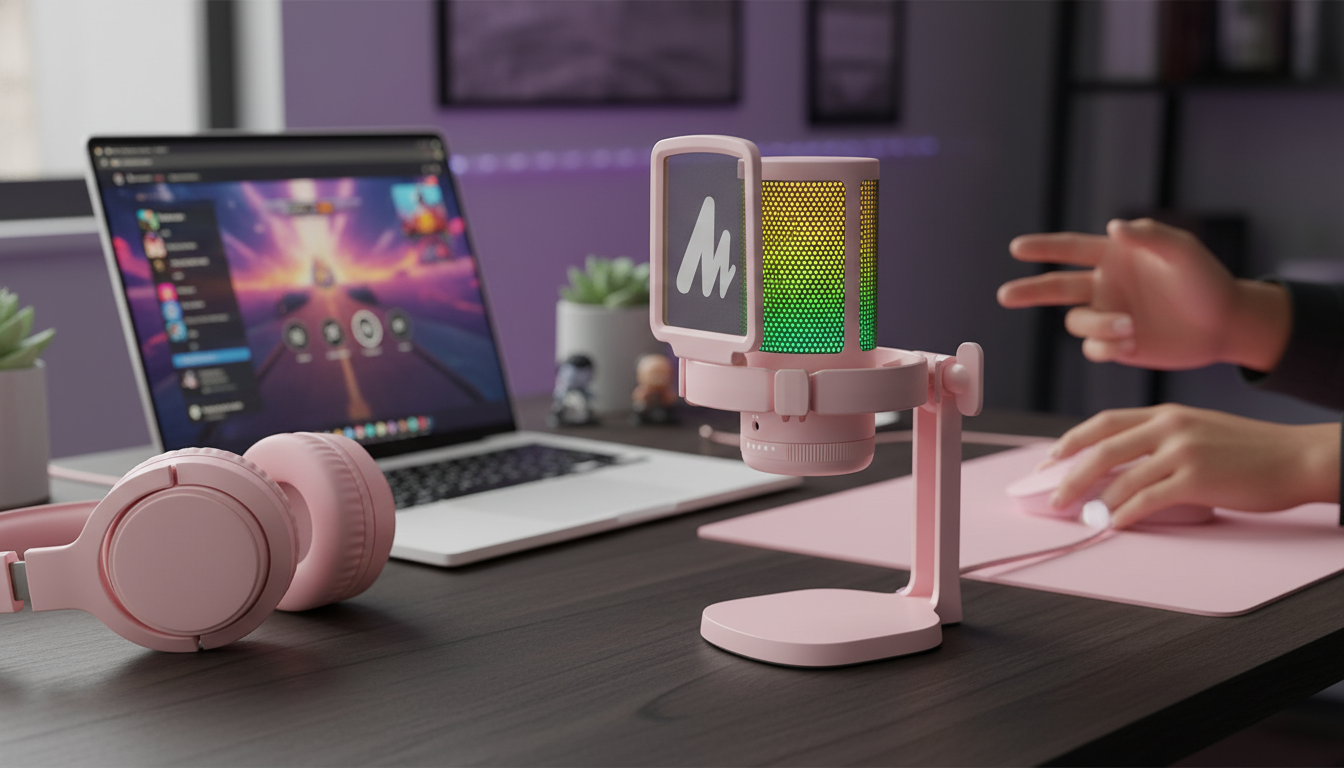
A clean, game-ready mic setup can make comms clearer, streams more watchable, and recordings easier to edit. This RGB USB‑C microphone focuses on practical controls—quick mute and real-time headphone monitoring—paired with plug‑and‑play convenience for PCs and modern devices. Whether you’re calling rotations in a tight match or recording a last-minute voiceover, physical controls on the mic help you stay focused instead of digging through menus.
What it’s built for
This type of desktop USB mic is designed to be simple, fast to use, and easy to trust when things get loud. It’s a great fit for:
- Team chat and in-game callouts that stay understandable during fast action
- Streaming and voiceover when a simple desk setup is preferred over an audio interface
- Hybrid use: gaming headset for monitoring while capturing a separate mic track
- Shared spaces where quick muting prevents accidental background audio
For technique basics—like distance, angle, and plosive control—Shure’s overview is a helpful refresher: Microphone technique basics.
Key controls that matter during play
When you’re mid-round, you don’t want to alt-tab, hunt for the right window, and hope the app actually toggled the right device. On-device controls reduce friction and lower the odds of mistakes.
- Mute button for instant privacy when coughing, talking off-stream, or answering someone in the room
- Zero-latency monitoring via headphone output to hear the microphone signal without delay
- On-device controls that reduce alt-tabbing and avoid software-level mishaps during ranked matches
- RGB lighting that helps confirm the mic is active at a glance (especially in low light)
Quick actions and what they solve
| Action | When it helps | What to listen/look for |
|---|---|---|
| Tap mute | Unexpected noise or private conversation | Mute indicator change; teammates no longer hear you |
| Use headphone monitoring | Checking mic clarity before queueing or going live | No echo; voice sounds immediate and natural |
| Adjust mic position | Boomy, thin, or distant sound | More consistent volume; fewer plosives and keyboard bleed |
| Toggle/adjust RGB (if supported) | Dark room or on-camera setup | Visible status cue without opening settings |
Setup in minutes: USB‑C connection and placement
USB mics are at their best when setup is boring—in a good way. A quick checklist keeps your input stable across games, Discord, and streaming apps.
- Connect using USB‑C for power and data; confirm the device is selected as the input in system settings
- Set input level so normal speaking peaks comfortably without clipping during excited moments
- Place the mic 6–10 inches from your mouth and slightly off-axis to reduce plosives
- Keep the mic away from the keyboard’s direct line; use a stable surface to limit vibration
If you’re on Windows and your mic level keeps changing or the wrong device is selected, the quickest fix is usually in system audio settings. Microsoft’s support hub is a solid starting point: Change microphone settings in Windows.
How zero-latency monitoring improves recordings
Zero-latency monitoring (often called direct monitoring) lets you hear your mic signal through the microphone’s headphone output without the “round trip” delay of going into the computer and back out. That tiny delay can be distracting—especially when you’re trying to speak naturally and stay locked in.
- Eliminates the distracting delay that can happen when monitoring through software
- Helps maintain consistent speaking distance and tone because the mic sound is heard instantly
- Makes it easier to catch problems early: clipping, room echo, mic rub, or cable noise
- Pairs well with closed-back headphones to minimize sound leaking back into the mic
For streamers, direct monitoring also speeds up pre-flight checks. Instead of recording a test clip, you can often hear immediately whether you’re too loud, too quiet, or picking up more room than you want.
Sound quality tips for clearer comms
You don’t need studio gear to sound clean—small adjustments do most of the work.
If you use OBS for streaming, make sure your mic source is set correctly and filters are applied in the right order. The official docs are the most reliable reference: OBS Studio Documentation: Audio setup.
Who this microphone suits best
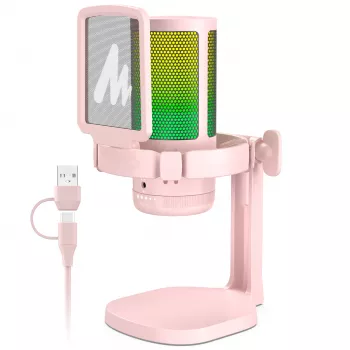
Product snapshot
At-a-glance details
| Item | Detail |
|---|---|
| Product | RGB USB‑C Gaming Microphone with Mute Button & Zero‑Latency Monitoring |
| Price | 61.51 USD |
| Availability | In stock |
Related in-stock picks
- RGB USB‑C Gaming Microphone with Mute Button & Zero‑Latency Monitoring
- Build a Smarter Content Calendar with AI | AI-Powered Content Planning Guide, Digital Download for Creators & Entrepreneurs, Content Strategy eBook
- How to Start a Money Blog – Ultimate Beginner’s eBook for New Bloggers | Step-by-Step Guide to How to Start a Blog That Makes Money | Blogging for Profit Digital Download
FAQ
How does zero-latency monitoring work on a USB microphone?
It routes your mic signal directly to the microphone’s headphone output, so you hear yourself immediately without the delay caused by sending audio through the computer and back. Depending on your system settings, game audio may come from your PC while only the mic is monitored through the mic’s headphone jack.
Will the mute button mute everything or only the microphone?
The mute button typically mutes the microphone signal, not your system audio or what you hear in your headphones. Most mics also change a light or status indicator so you can confirm at a glance that the mic is muted.
What’s the easiest way to reduce keyboard noise in voice chat?
Move the mic closer to your mouth, angle it away from the keyboard, and lower gain so it isn’t “listening” to the whole desk. Add a desk mat to reduce vibrations and use light noise suppression or a gentle gate so your words don’t get clipped.


Leave a comment