Attach 3D Butterfly Wall Decals Without Damaging Paint
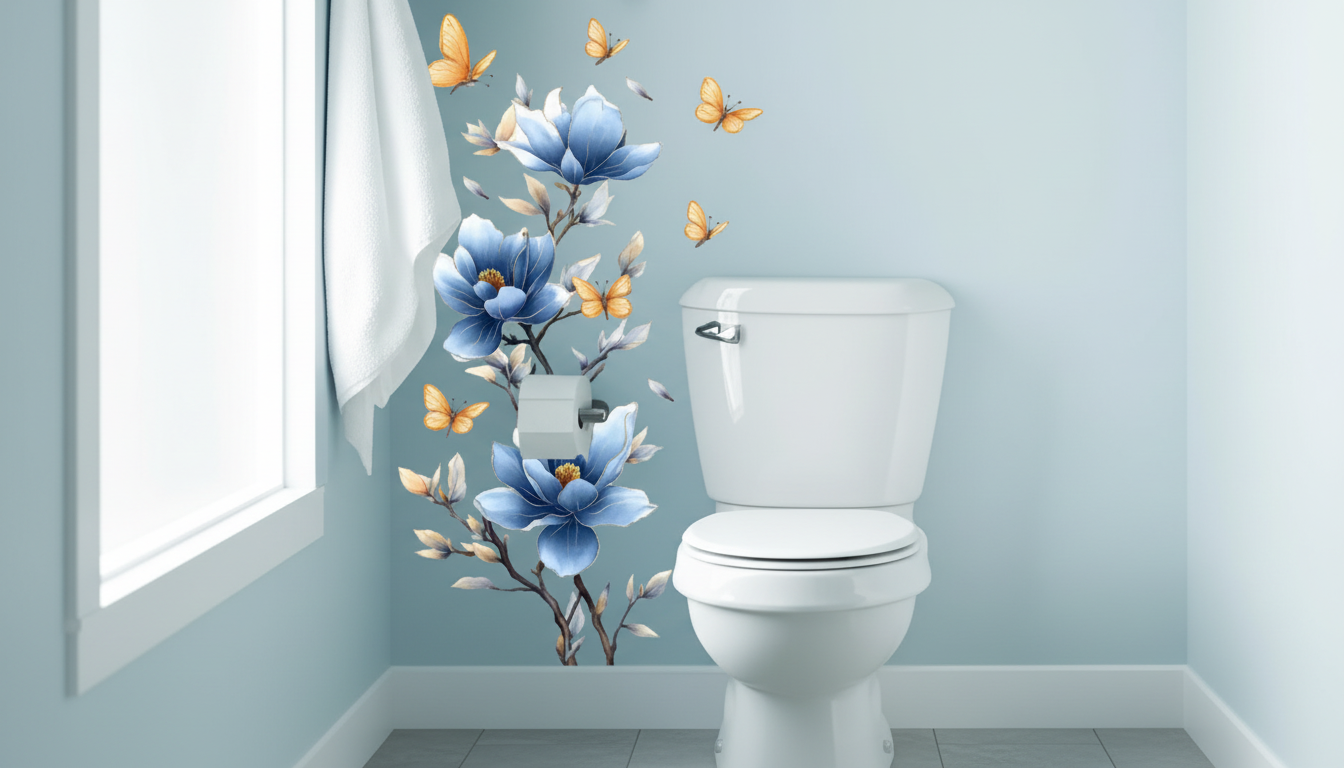
How do you attach 3D butterflies to walls?
Most 3D butterfly wall decals attach with either removable adhesive dots (like glue dots), double-sided foam tape, or painter’s tape used as a temporary “hinge” while you position each piece. The goal is a secure hold that won’t damage paint and still lets you lift the wings for that floating 3D effect.
1) Clean and prep the wall
Wipe the area with a dry microfiber cloth to remove dust. If the wall is greasy (common near kitchens), lightly clean and let it dry fully. Adhesives stick best to smooth, dry paint—avoid freshly painted walls until the paint has fully cured.
2) Choose the right adhesive for your surface
For most painted drywall, removable glue dots work well and are easy to adjust. For heavier butterflies or textured walls, small squares of double-sided foam tape can add grip. If you’re renting or worried about paint, test one butterfly in a less visible spot first.
3) Create a quick layout before sticking
Arrange the butterflies on the floor to plan your cluster or “flight path.” To keep spacing consistent, lightly mark reference points with painter’s tape. Starting at the center of your design and working outward helps the arrangement look balanced.
4) Attach the body, then shape the wings
Place adhesive on the butterfly’s body (not the wings). Press the body to the wall for several seconds. Then gently bend or lift the wings outward to create depth. Mixing wing angles makes the display look more natural.
5) Adjust, reinforce, and remove cleanly
If an edge lifts, add a tiny extra dot behind the body or switch to a stronger strip for that piece. When removing, peel slowly from the body area and use a gentle rolling motion to lift any remaining adhesive.
For a step-by-step visual approach and styling ideas, see the full guide here: https://puriture.com/guide-blue-floral-butterfly-wall-decal-quick-room-refresh/.
FAQ
Will 3D butterfly decals damage paint when removed?
They’re usually safe if you use removable adhesive and peel slowly. Test one first, avoid freshly painted walls, and remove by lifting the body area rather than pulling on the wings.










Leave a comment